How to Make Wooden Bookends: Easy DIY Plans for Beginners
A matching pair of L-shaped pine bookends with an inside cleat at each corner. Includes exact dimensions, a six-piece cut list, seven assembly steps, and a free printable PDF.
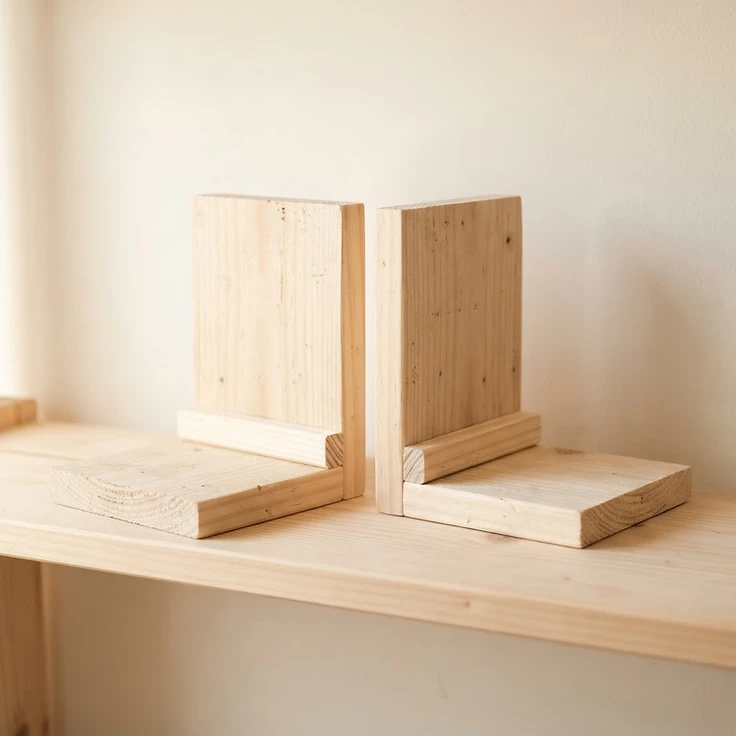
Design rendering of the V1.1 bookends: a matching pair, each with a horizontal base, an upright and one inside cleat. This is an illustration, not a photograph of a finished build.
On this page
Introduction
Looking for a practical way to keep books upright without complicated joinery? These DIY wooden bookends use straight cuts, common pine boards, wood glue, and screws. Make a matching pair with an L-shaped profile and a small interior cleat that reinforces each corner.
Each finished bookend measures 5½ inches wide, 6 inches deep, and 6¾ inches tall. The 6-inch base slides beneath the books, allowing their weight to help stabilize the bookend.
Still choosing a first build? Browse our beginner woodworking projects or small woodworking projects.
Quick project specifications
Materials and tools
You will need one 1×6 pine board with at least 24 inches of usable length plus saw-kerf allowance, one 1×2 board with at least 10 inches of usable length plus saw-kerf allowance, wood glue, eight #8 × 1¼-inch wood screws (four per bookend), and optional felt pads and finish. Have a saw, drill/driver, pilot and countersink bits, tape measure, square, clamps, sandpaper, and eye protection ready. Confirm the actual dimensions of your lumber, and buy extra material for defects and test cuts.
New to buying boards? Read woodworking lumber basics to understand nominal versus actual sizes, and see our guide to beginner woodworking tools.
Cut list
This cut list makes two bookends (six parts). Dimensions assume nominal 1×6 = ¾ × 5½ in and nominal 1×2 = ¾ × 1½ in. Verify actual stock before cutting.
| Part | Quantity | Material / actual section | Cut length |
|---|---|---|---|
| Bases | 2 | 1×6 pine / ¾ × 5½ in | 6 in |
| Uprights | 2 | 1×6 pine / ¾ × 5½ in | 6 in |
| Inside cleats | 2 | 1×2 pine / ¾ × 1½ in | 5 in |
If measuring and marking is new to you, read how to measure and mark wood. Not sure how to read a cut list? See how to read a woodworking cut list.
How to build wooden bookends: 7 steps
1. Measure and mark
Mark two 6 in bases, two 6 in uprights, and two 5 in cleats. Check actual lumber thickness.
2. Cut the parts
Make square 90° cuts. Label each piece and check lengths and edges.
3. Sand and dry-fit
Smooth faces and break sharp edges. Position each upright on its base, flush at the rear. Place the cleat against the upright on the base.
For smoother surfaces, read how to sand wood. Gluing up? See wood glue basics.
4. Glue the joint
Apply wood glue to the bottom edge of the upright and to the two mating faces of the cleat. Clamp at 90° and wipe away squeeze-out.
5. Secure the cleat from below
With the assembly clamped, drill pilot and countersink holes at the two underside positions. Drive two #8 × 1¼ in screws through the base into the cleat.
6. Secure the cleat from behind
Drill pilot and countersink holes at the two back-face positions. Drive two #8 × 1¼ in screws through the upright into the cleat. Check squareness and repeat for the second bookend.
7. Finish and use
Let glue cure according to its label. Sand as needed; apply optional finish and felt pads. Place books on the bases so their weight helps resist tipping.
Choosing a finish? Read wood finishing basics.
Where the screws go
On each bookend, place two underside screws through the base into the cleat at x = 2 and 3½ inches across the 5½-inch width, each 4½ inches from the front edge.
Place two screws through the back of the upright into the cleat at x = 1¼ and 4¼ inches across the width, with their centers 1⅛ inches above the underside of the finished bookend. This staggers the pairs so their paths do not intersect. Use appropriate pilot holes and countersinks.
Each bookend uses four screws; the pair uses eight. This screw placement is a suggested layout, not a manufacturer-tested joint.
Coordinate check (x across the 5½ in width, y front to back, z upward from the underside): base x 0–5½, y 0–6, z 0–¾. Upright x 0–5½, y 5¼–6, z ¾–6¾, resting on the base with its back face flush with the back of the base. Cleat x ¼–5¼, y 3¾–5¼, z ¾–1½, lying flat on the base and touching the front face of the upright. Overall height = ¾ in base + 6 in upright = 6¾ in. The cleat's 5 in length leaves ¼ in clearance at each side.
Why use an interior cleat?
Simply screwing through the underside of a base into the end grain of an upright can make a less reliable corner joint. This design adds a short 1×2 cleat that is glued to the base and upright, then secured through their broad faces. It also helps hold the L shape square during assembly. The cleat is visible inside the corner; it is a functional, straightforward detail rather than concealed joinery.
Download the free plan
The printable plan includes the cut list, construction geometry, fastener locations, all seven assembly steps, and safety notes for the pair of bookends.
Finishing ideas
Sand all faces smooth and ease sharp corners. For a clean natural look, use a clear water-based finish; for a darker bookshelf accent, use stain followed by a compatible protective topcoat. Add felt pads beneath the base if you want to protect finished shelving. Follow the product labels for drying and curing.
Common mistakes to avoid
- Using nominal lumber dimensions as actual dimensions without checking the stock.
- Attaching the upright at the front rather than flush with the back of the base.
- Driving screws without pilot holes near edges.
- Placing the two sets of screws on the same x positions, risking a collision.
- Using a bookend without sliding the base beneath the books.
Frequently asked questions
What wood is best for beginner bookends?
Straight, dry pine is inexpensive and easy to cut. Poplar is another workable choice. Confirm actual thickness and width.
Can I make bookends without a cleat?
Other joinery methods are possible, but this plan includes a cleat to reinforce the right-angle connection without specialty tools.
How tall should DIY bookends be?
These bookends are 6¾ inches tall. Larger books may benefit from a taller design, which would require its own dimensions and stability review.
Will they hold heavy books?
No tested load rating is available. Use them for ordinary books on a level shelf, with the bases beneath the books. Very heavy books may cause slipping or tipping.
Can I paint or stain the bookends?
Yes. Sand first and follow the coating manufacturer’s instructions for preparation and curing.
More woodworking projects
Explore the Simple Wooden Phone Stand, Simple Wall Shelf and Wooden Storage Crate, browse the full woodworking plans library, or see all beginner woodworking projects.
Final thoughts
This pair of wooden bookends is a manageable beginner project with simple cuts and useful everyday results. The matching 6-inch bases and 6-inch uprights make the measurements easy to follow, while the inside cleats provide an accessible reinforcement method. Download the printable plan before cutting and follow its exact layout.
Educational plan based on dimensional review, not a physically tested prototype. No tested load rating is claimed. These bookends are for ordinary indoor books on a level shelf. They are not freestanding load-bearing supports: very heavy books or a slick surface may cause sliding or tipping. Keep book weight on each base, and do not use them as climbing supports. Wear eye protection and clamp small parts before drilling.
Related Projects
 BeginnerPlan available
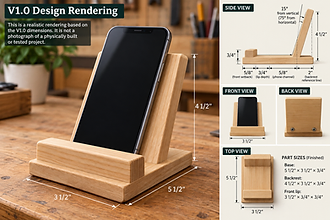
Simple Wooden Phone Stand
A dimensionally checked three-part plan with a full cut list, technical drawing and step-by-step instructions.
 BeginnerPlan available
Simple Wall Shelf
A 24-inch bracket shelf with a full materials list, bracket placement dimensions and a step-by-step installation sequence.
 BeginnerPlan available
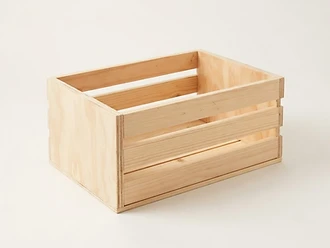
Wooden Storage Crate
An open-top pine and plywood slatted crate, 18" × 12" × 10", with a full cut list, seven assembly steps and a free printable plan.


