Wooden Tool Box Plans: Build an Easy DIY Tool Tote
A traditional open-top carpenter’s tool tote, 16 × 8 × 10 inches, with a four-piece cut list, eight assembly steps, a 22-screw fastening schedule and a free printable plan.
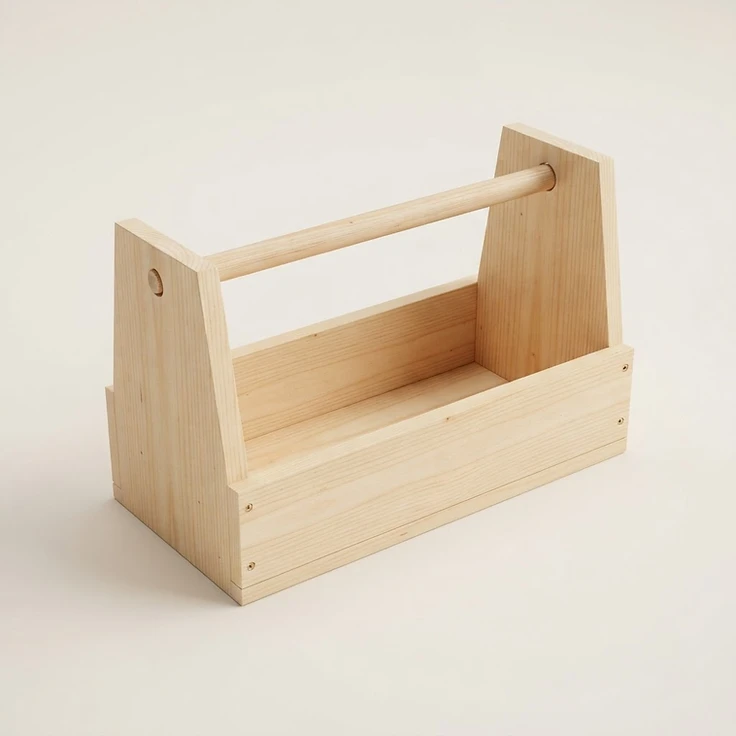
Design rendering of the V1.2 tool tote: a flat bottom, two tall end panels, two low long sides and a through-mounted dowel handle. This is an illustration, not a photograph of a finished build.
On this page
Introduction
A practical, open-top wooden tool box keeps frequently used hand tools together without the hardware and complexity of a lidded chest. These wooden tool box plans describe a traditional carpenter-style tote with two tall ends, low sides, a full-width bottom, and a round carrying handle. The downloadable V1.2 PDF includes dimensioned views, a cut list, and the exact screw schedule.
This is a dimensionally coordinated, unbuilt design. The instructions describe the planned assembly; they are not a report of a completed or load-tested build. Do not assume a rated carrying capacity.
New to building? Browse our beginner woodworking projects or small woodworking projects first.
Project at a glance
What makes this an easy wooden tool box?
The body is a rectangular tray with two taller end panels that support the handle. The side panels stop at 4 inches above the bottom, leaving the upper section open so tools can be reached without removing a lid. The handle is a ¾-inch hardwood dowel passed through matching holes in the ends and secured by two retaining screws. No hinges, drawer slides, or decorative joints are required.
Materials and tools
Use straight, sound wood with a verified actual thickness of ¾ inch. Pine or another workable solid wood is appropriate for the panels; use a straight hardwood dowel for the handle. You will also need the specified exterior wood screws, sandpaper, and optional exterior-compatible finish if the tote will be exposed to damp conditions. A finish does not make the tote waterproof.
Useful tools include a measuring tape, square, saw suitable for straight cuts, drill/driver, ¾-inch bit, pilot bits, countersink, clamps, and sanding tools. Wear eye protection and follow the tool manufacturer’s instructions.
New to buying boards? Read woodworking lumber basics to understand nominal versus actual sizes, and see our guide to beginner woodworking tools.
Exact cut list
All four walls stand on the bottom panel. The end panels span the full 8-inch width, and the long sides fit between them. This arrangement creates a clear interior footprint of 14½ × 6½ inches. The bottom is ¾ inch thick; the end panels rise another 9¼ inches above it, producing the 10-inch overall height.
| Part | Qty | Material / actual thickness | Width | Cut length |
|---|---|---|---|---|
| Bottom | 1 | Solid wood / ¾ in | 8 in | 16 in |
| End panels | 2 | Solid wood / ¾ in | 8 in | 9¼ in |
| Long side panels | 2 | Solid wood / ¾ in | 3¼ in | 14½ in |
| Round dowel handle | 1 | Hardwood dowel / ¾ in dia. | ¾ in dia. | 16 in |
If measuring and marking is new to you, read how to measure and mark wood. Not sure how to read a cut list? See how to read a woodworking cut list.
Handle placement and installation
On each end panel, drill a ¾-inch through hole centered across its 8-inch width (4 inches from either side) and positioned 8½ inches above the underside of the finished tote. Because the bottom is ¾ inch thick, the hole center is 7¾ inches above the lower edge of the end-panel piece. Align the holes carefully before assembly.
Pass the 16-inch dowel through both end panels so its ends are flush with the outer faces. After confirming alignment, predrill and install one #6 × 2-inch retaining screw downward through the top edge of each end panel into the dowel. Center the screws across the ¾-inch panel thickness and over the handle hole. These screws provide positive retention; glue alone is not the specified handle attachment. Confirm screw length and fit in a dry assembly, and inspect for splitting or protruding tips.
How to build a wooden tool box: eight steps
1. Cut and inspect the stock
Cut the four part types to the dimensions above. Confirm actual thickness, straightness, and squareness. Sand sharp cut edges.
Working with plywood or checking stock flatness? Read woodworking lumber basics.
2. Mark the handle holes
On each end panel, locate the center 4 inches across the width and 7¾ inches up from the piece’s lower edge. Drill aligned ¾-inch through holes.
3. Lay out the screw positions
Transfer the screw-center coordinates from the V1.2 PDF. Predrill and countersink where needed, particularly for screws entering end grain.
Clamping up? See wood glue basics.
4. Attach the first end
Place the first end panel on the bottom panel, flush with its end and sides. Fasten from below while holding the joint square.
5. Fit the handle and second end
Slide the dowel through the first end, then position the second end over it. Secure the second end to the bottom and confirm that the dowel ends sit flush.
6. Retain the handle
Predrill and drive one 2-inch retaining screw through the top of each end into the dowel. Check for splitting and a secure connection.
7. Attach both long sides
Fit the 14½-inch sides between the end panels, standing on the bottom. Secure with the six underside screws and eight end-to-side screws specified in the PDF.
8. Inspect and finish
Check square, fastener heads, sharp edges, exposed screw tips, and handle security. Sand as needed. Apply a suitable finish only after the assembly is sound.
Smoothing and coating the tote? Read how to sand wood and wood finishing basics.
Fastening schedule: 22 screws
22 screws in total: 20 × #6 × 1¼-inch exterior wood screws for the wall and bottom joints, plus 2 × #6 × 2-inch exterior wood screws for handle retention.
| Joint | Screws | Screw | Locations (inches) |
|---|---|---|---|
| Bottom → end panels | 6 | #6 × 1¼ exterior | Underside: x = ⅜ and 15⅝; y = 1½, 4, 6½ |
| Bottom → long sides | 6 | #6 × 1¼ exterior | Underside: x = 2, 8, 14; y = ⅜ and 7⅝ |
| End panels → side ends | 8 | #6 × 1¼ exterior | Both ends: y = ⅜ and 7⅝; z = 2 and 3¼ |
| Top edge → handle dowel | 2 | #6 × 2 exterior | x = ⅜ and 15⅝; y = 4; downward from z = 10 |
Coordinates in the V1.2 PDF use x along the 16-inch length, y across the 8-inch width, and z upward from the bottom. Use the dimensioned PDF rather than estimating screw positions from the article or a perspective illustration. Screws must be centered in the narrow receiving material; pilot holes are especially important. Wall screws enter the receiving wood about ½ inch after crossing ¾-inch stock, and the handle retainer tips reach z = 8 inside the end panels.
Download the free wooden tool box plans
Download the Wooden Tool Box Master Construction Plans V1.2 PDF for the coordinated part dimensions, handle-hole placement, screw coordinates, and assembly views. Check the current PDF version before cutting. The plans describe an unbuilt design; verify fit and safe operation before use.
Common mistakes to avoid
- Do not cut the long sides to 16 inches: they fit between two ¾-inch end panels, so their finished length is 14½ inches.
- Do not place the end panels beside the bottom; they stand on it.
- Do not substitute a glued blind-hole handle for the specified through-mounted dowel.
- Avoid driving screws without pilot holes near narrow edges.
- Do not assume that a dimensionally correct handle is automatically safe for heavy tools.
Ways to use and customize the tote
The open layout can organize hand tools, marking tools, sanding supplies, or light workshop accessories. A finish, label, or removable organizer may be added later, but additions should not obstruct the handle or alter the published cut list. Any structural changes require a revised plan and fresh fastening review.
Frequently asked questions
What size is this DIY wooden tool box?
The planned exterior dimensions are 16 inches long, 8 inches wide, and 10 inches high.
Is this a wooden tool tote or a tool chest?
It is an open-top wooden tool tote, sometimes called a carpenter’s tool box. It has no lid or drawers.
What size dowel is used for the handle?
A ¾-inch-diameter hardwood dowel cut to 16 inches, installed through both end panels and secured with two retaining screws.
Can beginners build this?
The geometry uses straightforward cuts and screw joints, but accurate hole alignment, drilling, and safe tool operation are still necessary.
How much weight can it hold?
No carrying-capacity or load rating is provided because the design has not been physically tested.
Are the plans free to download?
The project page provides a free V1.2 PDF with dimensions, assembly steps, and a fastening schedule.
More woodworking projects
Explore the Wooden Storage Crate, Wooden Bookends and Simple Wooden Birdhouse, browse the full woodworking plans library, or see all small woodworking projects and beginner woodworking projects.
Final thoughts
This open-top wooden tool tote is a manageable beginner build: four part types, 22 screws, and one through-mounted dowel handle. The dimensions are coordinated on paper, so work from the V1.2 PDF for the screw positions and dry-fit the handle and both ends before driving the retaining screws.
This is a dimensionally coordinated, unbuilt design. The instructions describe the planned assembly; they are not a report of a completed or load-tested build. No carrying capacity or load rating is provided, so do not assume a rated capacity for heavy tools.
Related Projects
 BeginnerPlan available
Wooden Storage Crate
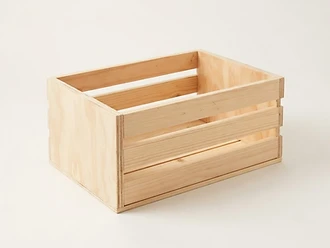
An open-top pine and plywood slatted crate, 18" × 12" × 10", with a full cut list, seven assembly steps and a free printable plan.
 BeginnerPlan available
Wooden Bookends
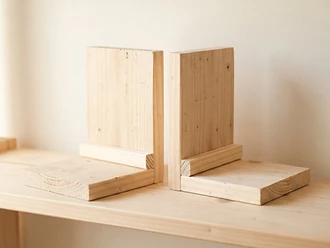
A matching pair of L-shaped pine bookends, 5½" × 6" × 6¾" each, with an inside cleat, a six-piece cut list, seven steps and a free printable plan.
 BeginnerPlan available
Simple Wooden Birdhouse
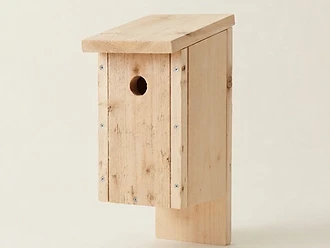
A Carolina Chickadee nesting box with a 1⅛" entrance, sloped roof, drainage and ventilation holes, a removable cleanout side and a free printable plan.


